technical
Lovable is not locked to one stack
How to push an existing repo, Astro or otherwise, into a Lovable project through GitHub sync, and what changes once the agent is reading your real codebase instead of a template.
The most common thing I hear about Lovable is some version of “it only makes React apps.” That is what the default template produces, so the assumption is fair. It is also wrong.
The site you are reading is Astro. Static output, content collections, a Cloudflare Pages build, a handful of Supabase edge functions, an admin page I wrote by hand. I edit it inside a Lovable project. Nothing about it came from the starter template.
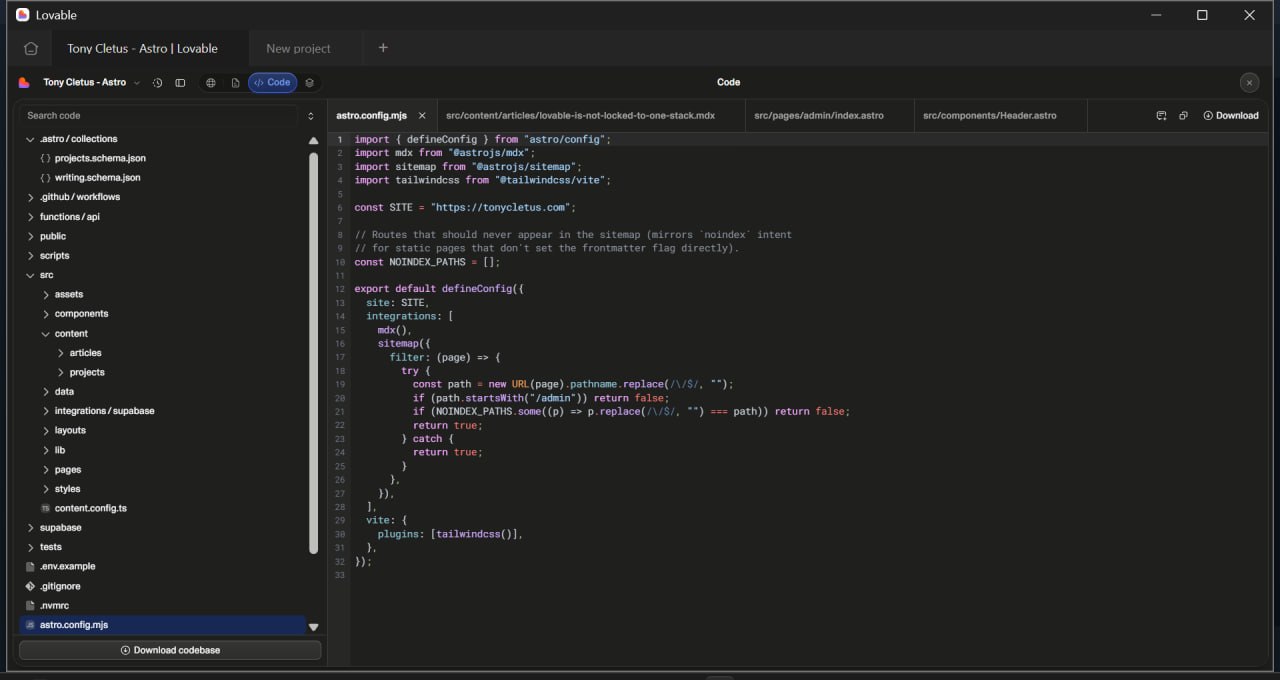
The mechanism is GitHub sync, and it is worth understanding properly, because a template is by definition code nobody has lived with yet. The moment the agent can read a repository you already maintain, it stops being a prototyping toy and starts being useful on the thing you actually ship.
What the default stack is
It is worth knowing what you are deviating from before you deviate from it.
A project created from scratch inside Lovable gets a React frontend in TypeScript, styled with Tailwind and shadcn/ui components. The backend, if you turn it on, is Supabase: Postgres, auth, storage, edge functions. Publishing goes to a lovable.app URL or a custom domain, and the repo can sync to GitHub either way.
The framework underneath changed in May 2026. Projects created before then were React with Vite, a single-page app with client-side routing. Projects created on or after 13 May 2026 scaffold TanStack Start instead, with TanStack Router for routing, which gets you server rendering and static output. That matters mostly for search indexing and link previews, which a client-rendered SPA is bad at.
Hosting is Lovable’s own in both cases. Cloudflare Pages was never the default; that is a choice I made for this site, and I will get to why.
The template is a starting point, not a runtime. What Lovable runs against is a repository and a dev server. It reads the files that are there. If the files are Astro, it works in Astro.
Getting an existing codebase in
There is no “import this GitHub repo” button. The route runs the other direction: you start from a project Lovable created, then overwrite it. The mental model is that the Lovable project owns the repository, not the code inside it. You keep the container and swap the contents.
It takes about ten minutes.
1. Create a Lovable project and do not let it build anything. Start it with an empty prompt, or a throwaway one you abandon straight away. There is no reason to generate an app you are about to delete.
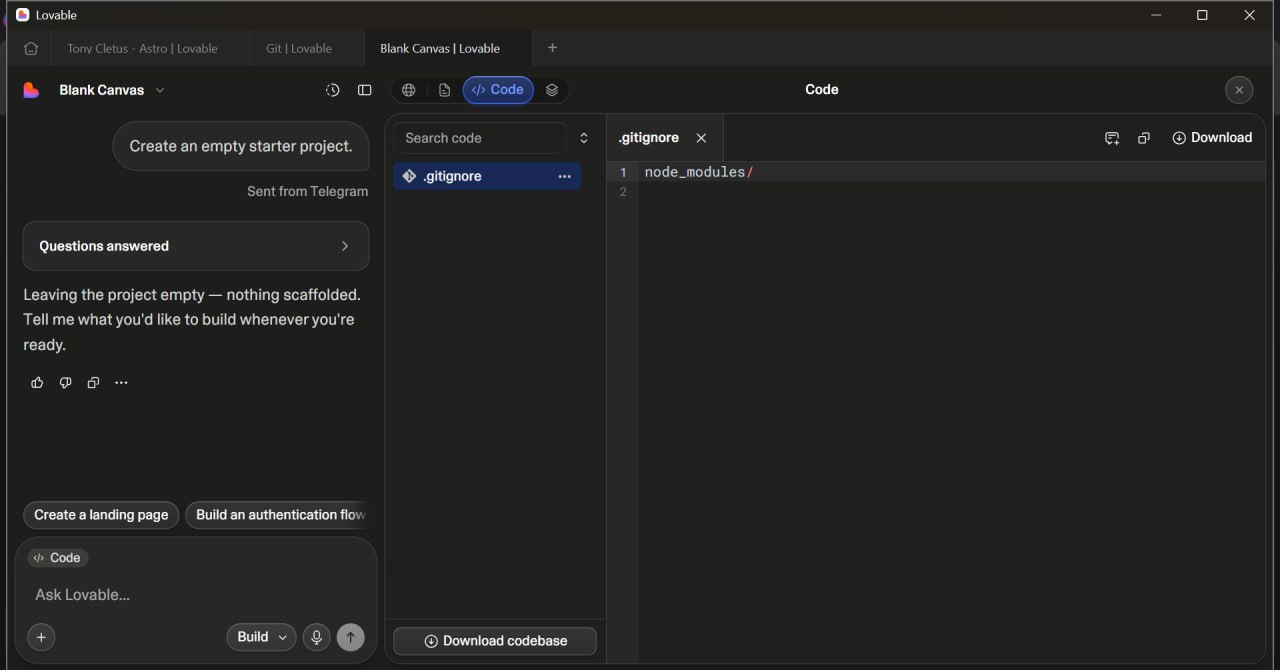
.gitignore and nothing else, which is the easiest thing to overwrite.2. Connect the project to GitHub. Click the + in the bottom left corner inside the chat input and choose GitHub, or open Project settings → Git → GitHub for the same thing. GitHub authorisation is a one-time workspace step under Workspace settings → Git → GitHub; after that each project just gets a Connect button next to the workspace connection. Pick the account or organisation, create the repository, and the repo mirrors the project in near real time: agent edits land as commits, your pushes show up in the editor.
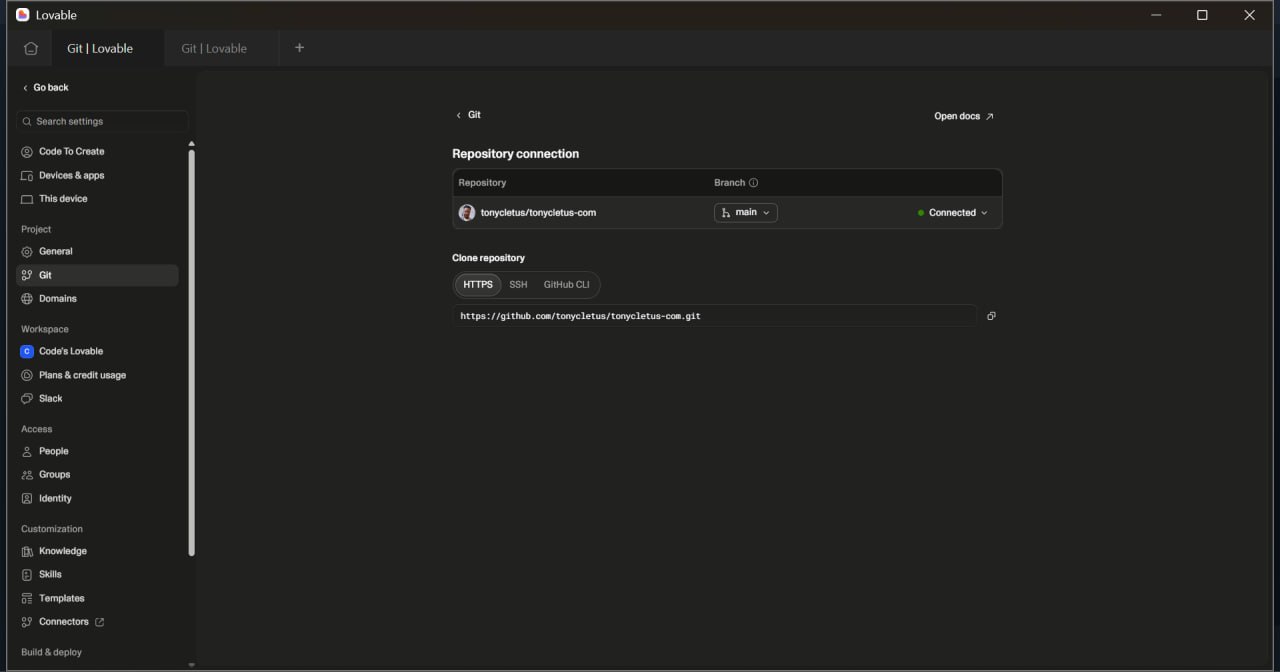
3. Clone that repo locally and empty it. Everything except .git goes. That folder is the connection to the remote, and deleting it means you are pushing to nowhere.
git clone https://github.com/<you>/<your-repo>.git
cd <your-repo>

# delete everything in the folder except .git
find . -mindepth 1 -maxdepth 1 ! -name '.git' -exec rm -rf {} +
On Windows without a bash shell, do the same thing in PowerShell:
Get-ChildItem -Force | Where-Object Name -ne '.git' | Remove-Item -Recurse -ForceOpen the folder in an editor at this point rather than working blind in the terminal. VS Code (code .) or Cursor (cursor .) both show hidden files, so you can see at a glance that .git survived and nothing else did. Any editor with a file tree works; the thing you want is visual confirmation before you commit.
4. Copy your project in without its own .git. If you copy a folder that has one, you end up with a repo inside a repo and the push silently carries none of your files.
# run this from inside the cloned repo, pointing at your own project folder
rsync -a --exclude '.git' /path/to/your-project/ .
The trailing slash on the source path matters: it copies the contents of that folder rather than the folder itself.
I got this wrong the first time. The push succeeded, but the editor still showed the scaffold, and I spent twenty minutes confused before I looked at what was actually committed. If your history matters, push your existing commits into the new remote instead of copying a working tree; if it does not, one squashed commit is fine.
5. Commit, push, then reload the editor before you prompt anything.
git add -A
git commit -m "Replace scaffold with existing codebase"
git push origin main
Use whatever branch the Git settings panel says the project is connected to; it is main on new projects. The file tree in Lovable has to show your code before you type anything, otherwise the agent is still reasoning about the template you just deleted.
If you would rather not touch the terminal
Steps 3 to 5 are the only ones that need a command line, and even those do not have to. Two ways round it.
GitHub Desktop. Install it, sign in, and use File → Clone repository to pick the repo you just created. Open the local folder in Finder or File Explorer, turn on hidden files (Cmd+Shift+. on macOS, View → Show → Hidden items on Windows), and delete everything except the .git folder. Drag your own project’s files in, minus its .git folder if it has one. GitHub Desktop will list every change; type a message and click Commit to main, then Push origin. Same result as steps 3 to 5, no commands.
Straight through the GitHub website. This route works when the project is small and has no folders you cannot drag. On the repo page, delete the scaffold files through the ⋯ menu on each one, then use Add file → Upload files and drag your project folder into the drop zone. The browser uploader keeps folder structure. Commit at the bottom of the page.
The website route has real limits: 100 files per upload, nothing over 25 MB, and it will not carry your existing commit history. For anything past a few dozen files, use GitHub Desktop.
Either way, make sure node_modules and any .env file do not get carried in. Copy your .gitignore across first and GitHub Desktop will respect it; the web uploader will not, so remove those folders before you drag.
The two things that will break your first build
Both of these cost me an evening, and both present as a build that fails with no obvious cause.
Commit a lockfile that matches package.json. The build runs npm ci, which refuses to install when the lockfile is missing or out of sync, and it will not fall back to npm install. Run npm install locally after any dependency change and commit the resulting package-lock.json in the same commit as the package.json edit. If you use another package manager, commit its lockfile instead and keep only that one in the repo.
Pin the Node version in the repo. Add a .nvmrc containing the exact version, for example 22.12.0, and mirror it in package.json under engines.node. Without a pin you get whatever the build image defaults to, which is how I ended up with an Astro version that needed Node 20 building on Node 18.
What the agent does with a non-default repo
This is the part people do not expect. Once the code is in, the agent reads it and works inside its conventions rather than reaching for the ones it knows best.
On this project that means it edits .astro files, understands that src/content/articles is a content collection with a Zod schema in src/content.config.ts, and knows that adding a field means updating that schema first. It runs astro check rather than tsc. When I asked for a draft-gating rule it put the predicate in src/lib/content.ts and threaded it through the three surfaces that needed it, because that is where the rest of the shared logic lives.
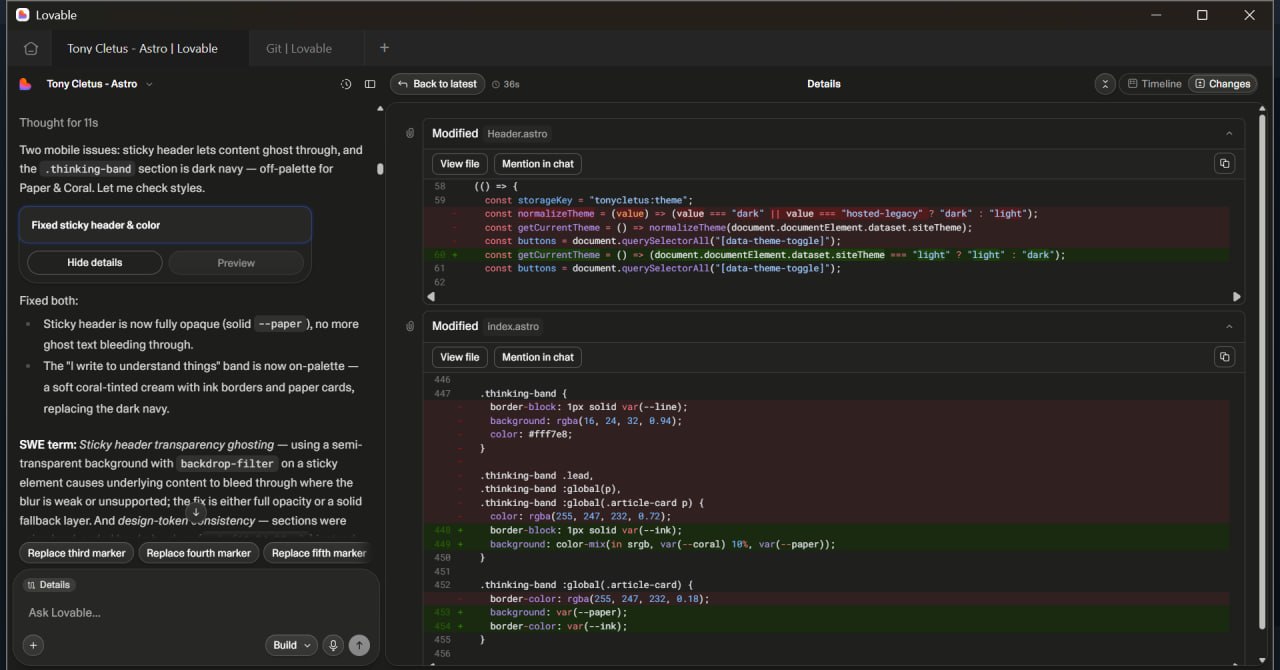
.astro files directly, not template React.None of that is Astro support as a feature. It is the agent reading the repo, which is the same thing that makes it work on a Vue app, a SvelteKit app, an Express API, or a React app using a router and a state library different from the template’s.
Your existing conventions win. You do not adapt your codebase to the tool. Say so explicitly in the first prompt if the repo is unusual, the same way you would brief a contractor on their first day, then let the files do the rest of the talking.
Publishing still works, it just points somewhere else
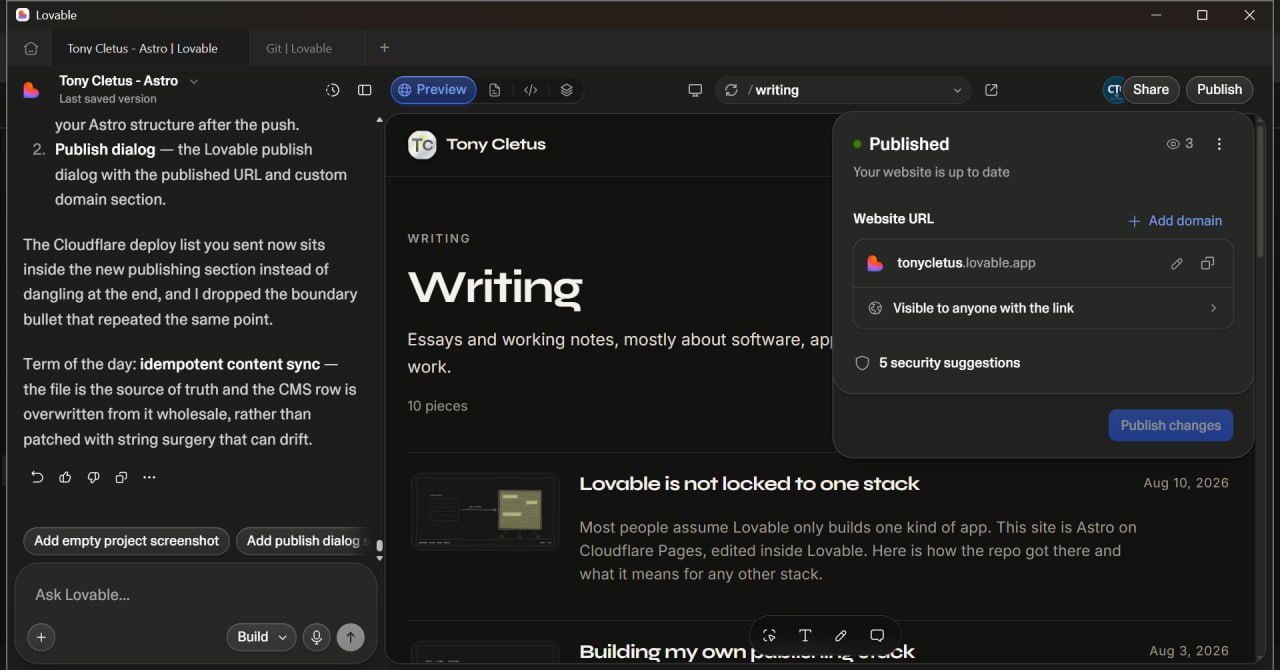
The other assumption I hear is that once you leave the template, hosting stops working. It does not. Lovable’s publish flow builds whatever the repo says to build. A non-default stack publishes exactly like a default one, as long as two things hold: the build command is a script in your package.json, and the output directory is the standard one for your framework (dist for Astro), so the platform finds the built files where it expects them.
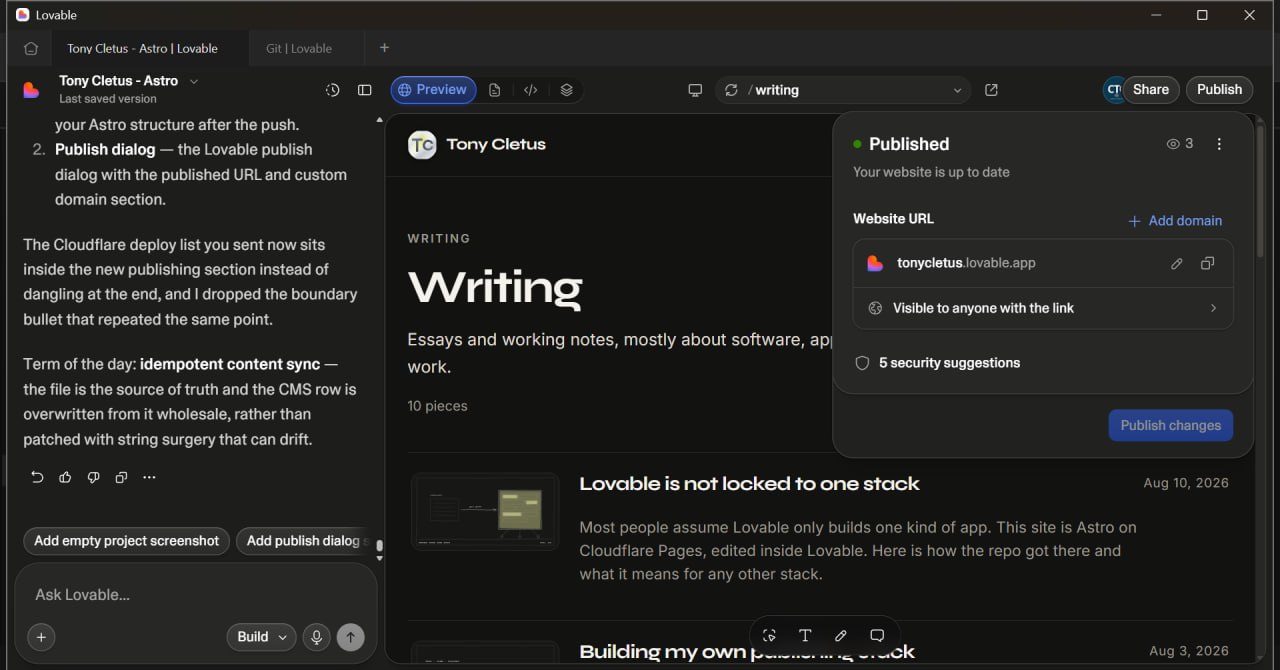
So there are two working setups, and you pick one rather than fighting the other. Publish from Lovable and let it host, or keep Lovable as the editor and let your own host build from the branch.
The deciding factor is whether you need anything at the edge that Lovable’s hosting does not give you. If a domain and a static build is the whole requirement, publish from Lovable and stop thinking about it. If you need redirect rules, custom headers, edge functions in front of the site, or the analytics of a host you already pay for, point your own host at the branch. I went the second way for this site because the security headers and the Cloudflare Pages functions had to live somewhere Lovable does not control.
What you should not do is half of each. Two hosts deploying the same commit means an afternoon spent working out which URL is stale.
Where the boundaries actually are
Being honest about the edges is more useful than a list of things that work.
The preview needs a dev server it can reach. Anything with a standard dev command is fine. A stack with an unusual local setup, or one that needs a service you have not provisioned, will build but preview poorly.
Cloud features assume the Supabase backend. The managed database, auth, storage and edge functions work regardless of your frontend stack. They are what my newsletter and analytics run on, from an Astro site. But if you already have a Postgres somewhere else, that is your own connection to wire up.
Two writers on one repo means normal Git discipline. You will push from your machine and the agent will push from the project. Both go to the same branch. Commit and push before you start a session in the other place, or you get a conflict like any other collaborator.
Why bother
The reason to do this is not novelty. “AI tool for prototypes” and “AI tool for the thing I actually maintain” are different products, and the second one only exists if it can read your real repository.
I rebuilt this site twice and threw both away before the version that stuck. The rebuild that worked was the one where the agent could see the whole codebase at once: the content schema, the edge functions, the build scripts, the CSS. That context is the value.
If you have a repo you already care about, push it into a project and ask the agent a question about a file you know well. The answer tells you quickly whether this is useful for your stack.
Get new pieces by email
I write about building products, applied AI, and the work behind them. No schedule, no spam, one email when something new goes up.